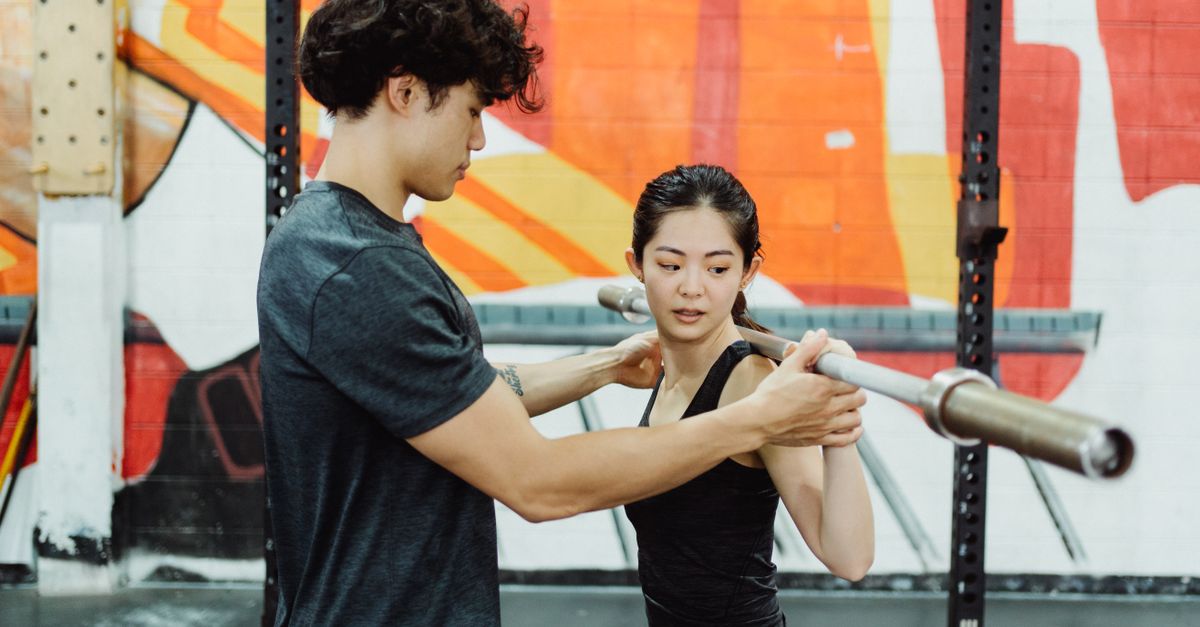
Good form is not a checklist of shapes. It is force travelling through the joints that can accept it, in an order that stays repeatable as the load climbs. These are the checkpoints we coach in the FitEdge studio, and the errors that show up most often when they are missed.
The squat: build the brace before the bar
Start with the feet just outside hip width, toes turned out slightly, and the whole foot in contact with the floor. Take a breath into your belly, brace as if someone is about to poke you in the ribs, then sit down between your feet rather than back onto your heels.
- Knees track over the middle toes for the whole rep. If they collapse inward, reduce load and widen the stance slightly.
- Depth is earned, not forced. Stop at the lowest point where your spine does not round and your heels stay down.
- The bar stays over mid-foot. If it drifts forward on the way up, your hips rose faster than your chest.
Common error: a forward-leaning chest in the final third of the ascent. It usually means the brace released early — reset the breath at the top of every rep instead of breathing mid-rep.
The deadlift: hinge, then push
Set the bar over mid-foot, hinge down with a flat back, and pull the slack out of the bar before anything moves. Think of pushing the floor away rather than pulling the bar up. The bar should travel in a straight line and finish with your hips and knees locked at the same moment.
- Lats tight, bar close. The bar drags up the shins; a bar that drifts forward is a bar you cannot finish.
- Hips and chest rise together. If the hips shoot up first, the load is too heavy for the position you set.
- Lower with the same care. Hinge the hips back, then bend the knees once the bar passes them.
Common error: jerking the bar off the floor. A fast, loose start loses the brace before the weight is even loaded. Take the slack out, then drive.
The press: stack, do not arch
Ribs down, glutes on, bar in front of the collarbone with the forearms vertical. Press the bar up and slightly back so it finishes over the mid-foot, then return it to the same starting position. If you cannot finish a rep without leaning back, the load is above your current capacity.
- Keep the wrist neutral. A bent-back wrist leaks force and irritates the elbow.
- Head moves, not the ribcage. Pull the chin back as the bar passes, then return it once the bar is overhead.
- Full lockout, then control. Lower under control — a dropped bar is a missed rep for training purposes.
Common error: turning a press into an incline press by arching the lower back. Reduce the load by 10 percent and press with the ribs down for three sessions before adding weight again.
How to correct form without losing progress
Film one set from a 45-degree angle every second week. Watch the bar path first, then the joints. Pick one checkpoint to fix per session — not five. When the checkpoint holds at a light load for three sessions, add load and re-check.
Tempo is a diagnostic, not a punishment. A three-second lowering phase exposes a brace that released, a knee that drifted, or a bar that wandered. If the rep falls apart at tempo, it will fall apart under fatigue too.
When to ask a coach
Sharp joint pain, numbness, or a position you cannot reproduce two sessions in a row is a signal to stop and get eyes on it. In the FitEdge studio we screen every lifter on day one and re-screen each block, because the cheapest strength gain available to any athlete is a technical fix made early.